In the first article in this series, I laid out the basics of Buddhist thought and tried to illustrate the enormous diversity and complexity of Buddhist philosophy and practice. I want to stress though that I only barely scratched the surface. Even amongst those who have studied and practiced Buddhism for many years, there are innumerable concepts that remain elusive and difficult to understand.
However, there are some common misconceptions that can be addressed at least to some degree without delving too deeply into citing obscure passages buried deep in the various Buddhist scriptures and commentaries. In this article I want to go over some common issues and misunderstandings that crop up pretty frequently in Western discourse on Buddhism, and hopefully provide some clarity and food for thought on these issues.
Again I want to stress that I’m no expert, just an everyday Buddhist with a strong interest in the material and years of reading under my belt, but I hope at least to provide some useful points for further exploration for anyone who might be reading these articles. As with the first article, I will revisit this one from time to time and update and revise things as I learn more, or if I find better explanations for some of the concepts explored below.
For clarity, I should say that I’m a card-carrying Tibetan Buddhist; having said that, I also engage in Zen and Theravada practices, so I don’t consider myself a sectarian. But given that I’m a human being with flaws and misconceptions of my own, I feel I should be clear that my own perspective comes primarily from Vajrayana with a mixture of other practices as well.
Life, Death and Rebirth

“Rebirth is not actually important in Buddhism, it was just included to appeal to ancient Indians who already believed in reincarnation. Or, rebirth is just symbolic and not a ‘real’ thing, and can be safely ignored”.
Many people, including some Buddhists themselves, have trouble with the concept of rebirth. As I described in the previous article, in Buddhism we are reborn not reincarnated, which means that while our karma continues from life to life, there is no self or eternal soul that survives between each existence, as there would be in reincarnation. Even though the rebirth concept is in a sense a smaller conceptual leap than reincarnation, since a soul is not required and nothing of the self transmigrates, still it represents a major obstacle for many people who are otherwise intrigued by Buddhist beliefs. In response, some Western scholars have proposed that actually rebirth was simply used by the Buddha as a metaphor, or as a means to convert ancient practitioners of the Vedic religions. For some this is a very appealing interpretation, since without rebirth one can focus purely on the practical, immediate benefits of the Noble Eightfold Path and not be forced to accept any supernatural elements that are difficult to reconcile with our personal point of view.
In Buddhism there is no God ruling over creation, nor does Buddha hang about and judge any of us; we alone are responsible for our actions and our karma, and so how much of the Dharma we do or don’t believe is entirely our decision. However, we should remember that while, technically, we can choose to take or leave rebirth as a concept, that doesn’t mean that the Buddhist conception of reality retains the same power if we excise rebirth entirely, or relegate it to a symbolic representation of moment-to-moment impermanence of consciousness. Rebirth is stated very clearly by the Buddha to be critical to the path of liberation he outlines, and without it, some of the central moral and cosmological elements of the Buddhist path start to seem nonsensical.
I already mentioned this in the last article and others have explained it much better than I can, so I will be brief on this point, but we can be quite certain that the Buddha did not intend for rebirth to be taken as a metaphor for something else, nor did he use it as a cheeky tool to convert others to his way of thinking. Throughout the suttas, the Buddha describes rebirth with very precise language, often using a phrase like ‘after death, and upon breakup of the body’ rather than simply saying ‘rebirth’. This way of speaking clearly and directly about death and rebirth indicates that at the time of his teachings, this view of existence was controversial, and reincarnation was not as common a belief as we tend to think, so the Buddha needed to explain the details of his worldview unambiguously and convincingly.
He also speaks at length about the processes that lead to us taking rebirth, which we can see above in the bhavacakra painting; the Twelve Links of Dependent Origination describes precisely the chain of processes that lead from the root ignorance of the nature of existence to becoming, being born, ageing, and dying. The first two Noble Truths relate directly to the existence of samsara, and the latter two to the means of freeing ourselves from this cyclic existence. Rebirth is thus at the very core of the Buddha’s teachings; the ultimate outcome of following the path of liberation he outlines is to end dukkha, the suffering of samsara, the continuous cycle of life, death and rebirth.
The question still remains: what if I can’t accept rebirth as a concept, does that mean I can’t be a Buddhist? If we ask Buddhist monks about this, generally they will answer that we should simply set it aside for now, and continue to practice. Buddhism is fundamentally a philosophy that must be experienced, and not only studied, so contemplation, reflection and meditation are seen as ways to develop further insights about life, death and rebirth. I have read accounts from a number of Buddhists reporting that they came to some sort of realisation after long periods of practice, and found that rebirth now made sense to them, or that they came to some personal synthesis of the concept that made them feel at peace with it.
The Buddha does talk about faith, but faith in the sense that we trust he is onto something, rather than unquestioning belief. So, some Buddhists might take the view that, while rebirth is a lot to take in and doesn’t feel ‘right’ to them, they do believe the Buddha was right about a lot of things, so they’re willing to accept he may be right about this, too. They can just be patient with themselves, and wait for things to become clearer with time.
“If our consciousness doesn’t persist after death, and there is no soul that transfers over, then why should we bother to practice? Isn’t death effectively a form of liberation, since whatever my suffering was in my life ends at the point of my death?”
This is a common question that arises when people start to ponder the reality of rebirth as depicted in the Buddhist framework. We naturally associate existence with the existence of ourselves — if my future lives are not me but merely a karmic outgrowth of my actions, should I really care about them? Once I die, doesn’t my suffering die with me, and some other poor chump has to live with the fruits of my karma?
Part of why this concept of rebirth is so challenging is that, like any of the core concepts of Buddhism, it derives its significance as part of that framework and must be considered in tandem with everything else. So viewed in the broader context of Buddhist existence — anicca, anatta and dukkha — the question above quickly loses its rhetorical heft.
The question only really makes sense if we believe that the self exists as a definable essence, a thing that exists and then ceases to exist when the body dies. Buddhism explicitly denies this, and contends that there is no self, no essence, and further, that none of us holds an inherent, independent existence. All conditioned things exist in interdependence with one another, so in that context the ending of my suffering at death isn’t something I can suppose. My suffering is deeply enmeshed with everyone’s suffering, and whether this life exists or not, that suffering will continue.
Similarly, consciousness not persisting into the next life does not remove the import of that life, because in Buddhism each life is an opportunity to practice the Buddha’s teachings, and therefore reduce and end suffering. In fact Buddhists consider every human life particularly fortunate, because we are not gods who know no suffering and thus can’t improve ourselves, nor are we animals that cannot avoid ignorance of the nature of existence — we have the capacity to improve, to progress, and to end our suffering. Conversely, death in samsara is not a liberation because it does not end anything — dukkha, suffering, still exists whether we die or not. The only way to end suffering is to leave samsara through liberation.
The Buddha was explicit that his teachings constitute a Middle Way philosophy, a path between annihilationism, in which nothing exists after death, and eternalism, in which an eternal soul or essence persists. What he calls annihilationist we might call materialist, but in any case, Buddhism posits that the end of the body is just the end of one cycle of our existence in samsara, and not an absolute end. At the same time, Buddhism does not accept that a soul or eternal self exists and carries forward into future lives or into an afterlife in another plane of existence. Buddhism instead says that each life is a new consciousness, a new being, yet that being is linked to many others through its karma. Thus, we must use each life as best we can to progress toward liberation, because after this life we have to start all over again, and having good karma gives our next lives a bit of a boost. So, each life matters in the grand scheme of things, unlike in the annihilationist view. At the same time, we cannot sit quietly and simply wait for the afterlife, because there is no afterlife to go to and no eternal soul to travel there; if we decide not to act, we will continue to suffer indefinitely, in this reality.
To sum up, Buddhists must practice, because this life is a product of the karma that came before, and our next one is the product of the karma we produce now. This life matters, because if we don’t use it, the chain of karma stretching through limitless time of which we are a part will continue to suffer, and that karma will recur over and over again bringing about more sentient beings, who will suffer in new ways. The only way out from the Buddhist viewpoint is through liberation, and leaving samsara for good.
“The karma that we have now is determined by our previous lives, right? So does that mean that if I am disabled, or otherwise disadvantaged, that Buddhists would say I deserve it? Why should I have to suffer now for previous lives of which I have no knowledge? None of this seems fair!”
Buddhists say all of life is suffering, because that is the nature of samsara. Our ignorance of the nature of reality forces us to continue to exist time and time again, sometimes unknowingly poisoning our own future existences. Samsara is terrible, and unfair, and that’s why the Buddha taught that we should strive to escape it.
Having said that, while karma does produce effects on future lives, Buddhists don’t consider this as any form of punishment. Karma is simply a process of cause and effect — good actions produce good outcomes, bad actions produce bad outcomes. One might imagine it as a sort of force of nature; gravity doesn’t punish us by making us fall to the ground, that’s simply what gravity does when we jump off a roof. Likewise, karma doesn’t punish us by making our lives worse, that’s just what karma does when we do bad things.
One might still get a bit confused and try to impute some kind of karmic retribution on those in unfortunate circumstances — if they are suffering now, they must have been a terrible person in a previous life. But this doesn’t fit with the Buddhist worldview either. For example, when raising this question some years ago, a Tibetan Buddhist told me that we cannot assume that the problems we see for others are a consequence of evildoing — perhaps the person in question is a highly-realised Buddhist, and is living a life in a disadvantaged state to work off some last vestiges of previous karma. Or perhaps what we perceive as a disadvantage is actually a boon, helping that person to focus on the Dharma and become a better person. Karma is complicated, and only fully-enlightened beings know how it really works, so we can’t presume to ‘read’ a person’s karmic circumstances from our limited perspective. Thinking more broadly, human rebirths of any kind are considered incredibly precious and special, even if that rebirth is in difficult circumstances.
So no, samsara isn’t fair. But in Buddhism, everyone is worthy of loving-kindness, every human life is precious, and karma manifests in different ways for different people, which is beyond any of us to see perfectly clearly. So, in the Buddhist framework, one should not assume that someone in tough circumstances is being punished, or that those circumstances reflect some deep unworthiness in their nature.
Buddhism: Religion or Philosophy?
“Buddhism is more of a philosophy than a religion. There is no God, souls don’t exist, and the practices the Buddha describes are all really practical. So I can call myself ‘Buddhist’ even if I don’t believe things like rebirth, or the Six Realms, etc.”
This is a tough one, and I’ll say right from the start that this is reflecting my view, but not the views of all Buddhists.
As I mentioned before, technically you can take or leave whatever parts of Buddhism you want — there is no Buddhist God to punish you, the Buddha is off doing his nirvana thing, and you can still have some good karma by being a good person and doing good things, even if you don’t practice the Dharma. But I think people should be careful before calling themselves ‘Buddhist’ officially, if significant parts of the Buddhist worldview don’t appeal to them.
In the answers above I alluded several times to the generally intricate and interdependent nature of Buddhist thought. This starts to become problematic if we consider Buddhism as a philosophy to be dissected into whatever random bits we find interesting, rather than as a coherent system of thought, each element resting on the others. When we take some bits out, the other bits don’t work as well, and sometimes don’t work at all. Yet this kind of approach is nonetheless fairly common, as we see in the Secular Buddhist community, but is perhaps most commonly seen in the widespread adoption of Mindfulness-Based Stress Reduction (MBSR — more on this below).
But, let’s flip this around and consider it from the point of view of a different religion. If I were to call myself a Christian, but then say I don’t believe in God, or the afterlife, or that Jesus Christ died for our sins, is it really reasonable to call myself a Christian? At that point I only like the trappings rather than the content. In the same sense, if I call myself a Buddhist but don’t believe in karma, rebirth, Buddha-Nature, or whatever else, am I a Buddhist or just an interested observer?
This kind of issue becomes even more troublesome when we try to combine Buddhism with other religions. For example, Buddhist cosmology and metaphysics is essentially diametrically opposed to the Judeo-Christian equivalents — Buddhism has no God, no souls, no eternal afterlife, and while gods of some kind exist in various sutras they’re just as beholden to impermanence as the rest of us. In other words, if God existed in the Buddhist cosmos, he would also be in samsara and would eventually decay and die just like us humans, and he would have no ability to stop this as no being can interfere with the operation of karma. So while it is certainly possible to be a Christian and engage in Buddhist practices, like meditation, I personally would object to a Christian saying they could also be Buddhist (or vice versa); in order to make these disparate ideas compatible that person would have to reject basically all the core concepts of Buddhism.
So, from my point of view, before calling ourselves official, capital-B Buddhists we should simply evaluate our standpoint based on common sense, and reflect on how our beliefs coincide with those of practicing Buddhists around the world. If we feel the Four Noble Truths and the Noble Eightfold Path are how we wish to live our lives, and we try to practice Dharma in whatever way we can, then that sounds pretty Buddhist to me. But calling oneself Buddhist while adopting very little of the Buddha’s teachings is more problematic, and in my view, is a bit disrespectful of the millions of Buddhists around the world who believe that the Buddha’s teachings are a complex and harmonious whole, and who orient their lives around these teachings. Buddhism is certainly full of intriguing and penetrating philosophy, but it is not only that.
I’ll close with a quote from Donald Lopez, Professor of Buddhist and Tibetan Studies at the University of Michigan:
“Buddhism has always been a religion,” he says. “To see it as a way of life is a modern conceit that disparages the lives and religious practices of Buddhists over thousands of years.”
“Buddhism sounds cool, but everyone’s doing mindfulness now and that seems helpful enough, so shouldn’t we all just do that? Why do all that other stuff?”
Again this is a tough one, so I will take this question on from my own point of view, but will back it up with some citations from some more respected Buddhist thinkers as well.
Mindfulness is everywhere today, usually in the form of Mindfulness-Based Stress Reduction courses, based on a curriculum developed by Jon Kabat-Zinn and now propagated around the world. Businesses, schools, universities, and hospitals everywhere now offer mindfulness courses, and numerous studies have confirmed that it can enhance our wellbeing and provides numerous tangible health benefits. Certainly practicing mindfulness has real-world impact, and has helped numerous people to cope with challenges in life.
But for Buddhists, this again is an instance of taking one small element of the Buddha’s teachings and removing it from all the surrounding context. Mindfulness is just one element in the Noble Eightfold Path; in fact, only three of the eight elements are related to meditation (Right Effort, Right Mindfulness, Right Concentration), and the rest are much more general ethical and behavioural principles. MBSR removes the ethical and metaphysical core of Buddhism, leaving behind only one isolated practice, and when that practice is one advocated by the Buddha for achieving insight into the nature of reality and transforming our understanding of our minds, not just a method for feeling calmer, then we should consider whether we are really getting the maximum benefit out of this practice.
Unfortunately, not only has the ethical centre of Buddhism been excised from MBSR, but that core has at times been replaced with an individualistic, goal-oriented framing that is a source of greater suffering, from a Buddhist point of view. Mindfulness is presented as a way to conduct more successful business relationships, to reduce stress and misery, to enhance one’s mood or eradicate depression. But this approach is quite at odds with the Buddhist perspective:
“Mindfulness in Buddhist tradition is to transform one’s sense of self; it’s not about attaining personal goals attached to personal desires; the goal is to liberate oneself from greed, ill will and delusion, not to achieve stress reduction.” [Ronald Purser, quoted here]
In addition, mindfulness has now been wholeheartedly adopted by corporate culture, and is offered as a way for employees to cope with the stress of the working environment. Mindfulness is supposed to be about developing wisdom and insight, but instead it is being used as a way to pacify an increasingly underpaid, overworked and over-stressed workforce. Mindfulness is even being used for war, with MBSR-based courses being utilised to enhance soldiers’ abilities to retain concentration in firefights.
This of course is in stark contrast to the motivations behind meditative practice in Buddhism, particularly in the Mahayana and Vajrayana traditions, where the primary motivation for all practice must be to work for the enlightenment of all sentient beings. In Tibetan Buddhism, practices always include a dedication, wherein all the positive effects of the practice are dedicated to relieving the suffering of all beings. Practitioners embark on mind-training exercises, designed to relieve them of pride, greed, and selfishness, so that all practices are performed with pure altruistic intention. Tibetan Buddhism heavily emphasises the need to enter all meditation practices with pure motivation, and often the start of a practice includes chants and recitations on these themes. For example, all practice texts provided by Thubten Chodron of Sravasti Abbey begin as follows:
I take refuge until I have awakened
In the Buddhas, the Dharma and the Sangha.
By the merit I create by engaging in generosity and the other far reaching practices
May I attain Buddhahood in order to benefit all sentient beings.
May all sentient beings have happiness and its causes.
May all sentient beings be free of suffering and its causes.
May all sentient beings not be separated from sorrowless bliss.
May all sentient beings abide in equanimity, free of bias, attachment and anger.
When we examine the types of practices associated with mindfulness in Buddhist traditions, we can see there’s a reason why mindfulness is only one small part of the Noble Eightfold Path. As with everything else in Buddhism, mindfulness enhances and is enhanced by the other elements of the Path; being mindful helps one to take right action and engage in right speech, to develop loving-kindness for all sentient beings, and so on. Mindfulness, in turn, is influenced and strengthened by developing skilful habits of mind and behaviour. In Buddhist traditions, for mindfulness to be truly effective it must be part of a larger framework of mindful and compassionate behaviour, speech and action. MBSR typically does not mention that as well as right mindfulness, there is wrong mindfulness — that is, mindful attention directed at negative behaviours and states of mind. Right mindfulness is centred on ethical behaviour, altruistic intention and developing wholesome mental states.
In addition, because mindfulness involves turning inward and seeking insight, it may even be harmful for some people, depending on their state of mind. Again I cannot speak for all Buddhists, but in the past Buddhists of Tibetan and Zen persuasions have both urged me to avoid insight meditation when suffering from poor mental health. Meditating while suffering mental health issues can be a negative experience for some; even for people who are relatively centred and feeling well, states of deep meditative absorption can cause troubling emotions to arise, unearth painful and traumatic memories, or generate altered states of consciousness that can be confusing or even scary when we aren’t prepared for them.
Because of all this, I personally don’t consider MBSR-type mindfulness courses to be a particularly good idea, and don’t see them as having much to do with Buddhism aside from the link to one of the Noble Truths. MBSR is too often used as a tool for pacification; a generalist treatment for patients who really would benefit far more from personalised mental and physical health care; and it may on occasion harm some people’s mental health, or turn others away from the broader set of Buddhist teachings that may actually be helpful for them. Mindfulness is a powerful tool when paired with the ethical and moral centre of Buddhism, but on its own provides only fleeting benefits rather than lasting realisations.
For people interested in mindfulness, I’d instead recommend they visit a local Zen or Tibetan Buddhist centre, who will certainly welcome them to come and learn to meditate. Or, if that sounds too scary, pick up any number of wonderful books by Thich Nhat Hanh or Bhante Gutaratana, and learn about mindfulness in its original context of the Buddhist belief system. Even if they don’t find Buddhism itself that interesting, learning mindfulness as a means for cultivating compassion, non-attachment and liberation from suffering makes the practice of mindfulness meditation much more impactful.
“I feel strongly that Buddhism is for me, but I cannot meditate due to life circumstances, ill health, or other problems. Because of this, I cannot be a Buddhist.”
If someone can’t practice meditation for one reason or another, that doesn’t mean they can’t be a Buddhist. In Buddhist traditions being aware of the Buddha and his teachings at all is considered a wonderful thing, and even just reading the sutras is very meritorious. If meditation is not feasible, other aspects of the Noble Eightfold Path are still available, since many of them are centred on behaviours we can engage in throughout our day, regardless of what we’re doing. So if you can’t meditate, focus on conducting yourself in a positive, compassionate way, deal with colleagues and acquaintances skilfully and kindly, and refrain from lying or abusing others. This too is Buddhist practice.
Also, not all meditation requires being seated in a quiet room for an hour, which is difficult to organise for many people. One can also meditate while seated in an office chair, or while walking down the corridor. Zen practitioners engage in a lot of walking meditation, so there are many good resources available on how to do it. The formal Zen walking meditation practice may be difficult to do regularly, but the practice can be adapted for use while walking the dog, going to the shops, etc.
Even if none of that is possible, Buddhists take the long view on this kind of stuff. We may not have the karma to be in a good position for meditative practice now, but there’s always the next life, or the one after that, or 100 lives from now. Along the way, we do what we can do, and every effort we take, no matter how small, helps us inch along that path to liberation. On the type of timescales Buddhists talk about (incalculable eons and such), a few slow lifetimes here or there really doesn’t make much difference.
In the Theravada traditions, many practitioners essentially leave the meditation to the monks, and instead practice the other elements of the Noble Eightfold Path and support the monks through donations. The idea is that someday, if they continue to generate good karma, they will be reborn into a life where they themselves can become a monk, and at that point achieve liberation.
Tibetan Vajrayanists stand out here, of course, because in those traditions it’s completely possible to immerse oneself in tantric practice and level up to Bodhisattva in a single lifetime. But again, most people don’t have the opportunity to do this, since pursuing that kind of path would involve a complete and total commitment, taking multiple-year-long retreats, and so on. So many Tibetans deeply revere the Buddha’s teachings and practice some of the precepts, and will attend the temples for big holidays, but they save the crazy tantric stuff for another life where they have the time and accumulated karma to make that complete commitment.
In short, Buddhism is flexible on this, like it is on lots of things. Buddhists believe that the Buddha taught the Dharma 84,000 different ways, so that every sentient being could understand it and practice it in a way that suits them. That being the case, many Buddhists are pretty relaxed about how they expect others to practice.
The Buddhist World View
“This Buddhism stuff seems really depressing. ‘All of life is suffering’? That’s clearly not true, not all of life is painful, sometimes things are great!”
The First Noble Truth is often translated in this very stark way, as ‘All of life is suffering’ or something similar. This can lead some to imagine a very dark world view in which every moment of life is filled with abject agony, but this isn’t what the Buddha presented in his teachings.
A more precise way to think of ‘suffering’ in a Buddhist context may be to think of it as ‘discontent’ or ‘unsatisfactoriness’. The Buddha described three main varieties of suffering, or dukkha: the suffering of suffering, which is the pain of old age, sickness, and death; the suffering of change, which is the inevitable fading away of our achievements, wants and emotional states; and the suffering of existence, which refers to the general anxiety and stress borne of being in a fundamentally insecure position in the world. These kinds of suffering are indeed everywhere — we often experience negative emotional or physical states, many of us feel a general sense of worry or that things ‘aren’t right’, and we know all too well that our happiness and joy tend to be short-lived.
Note that none of these varieties of suffering preclude the possibility that we can be, and are, happy and joyful at times! The suffering comes in when those great moments inevitably ends, and we are left unsatisfied; sometimes we feel suffering even during those great moments, as we know on some level that they will end. In modern life we are constantly in search of contentment, often through the acquisition of possessions, or looking for a better job, or finding a new partner. Yet, we know all too well that even if we achieve these things, we are left feeling much the same as before, and typically we end up continuing that fruitless search over and over again.
Here we see the Second Noble Truth — that suffering is borne of attachment and craving. This is a critically important point, because in the Second Noble Truth we realise that the nature of reality itself is not suffering, but that suffering arises due to our actions in response to impermanence and change. Throughout our lives, good and bad things will happen, this is just how life works; what generates dukkha is our desire to fix things in place, to cling to positive things that are inevitably fleeting, to seek out sense-pleasures while not addressing our underlying discontent.
This, in turn, leads us to the Third and Fourth Noble Truths — that suffering can be ended, and the way to end that suffering is the Noble Eightfold Path. Seen in its totality, the Buddhist world view is actually fundamentally positive, because while accepting unflinchingly the reality that life is fundamentally unsatisfactory, Buddhist thought also declares that we can overcome these deep problems. Not only is it possible to overcome them, but absolutely anyone can do this.
So, while the Buddhist world view can certainly seem disquieting — after all, we must accept that life is pervaded with discontent, and that everything is impermanent and subject to constant change — but following through on these realisations we are given a fundamentally uplifting philosophy. Buddhists believe that the suffering of life can be ended, that we can do it even by ourselves without begging forgiveness and mercy from a God or gods, and that when we do so we can experience blissful contentment, free from suffering.
If you worry that Buddhism is too dark, or that enlightenment might lead to a robotic detachment from the occasional joys of life, I urge you to spend some time watching interviews, seminars and talks from His Holiness the Dalai Lama. The Dalai Lama is an enlightened being, and has spent his life deeply immersed in the most complex, esoteric aspects of centuries of Buddhist thought. What you will see is not a dour, depressed, self-serious figure, but instead a charming, relatable man with a sparkling wit, a disarmingly silly sense of humour, and profound empathy and compassion. The Dalai Lama is a living example of how Buddhism provides tools that enable us to cultivate joy, compassion and wisdom in every moment. The idea of all-pervasive suffering may be scary at first, but applying that knowledge can actually make life much more joyful.
“Buddhists seem really cool and chill, and they don’t do grim stuff like Crusades and wars like the other religions!”
In my experience, most Buddhists typically are pretty chill, but as with any other system of thought there are plenty of Buddhists who behave very poorly indeed. During World War II, Zen masters got involved in Imperial Japan’s war efforts; Buddhist monks have openly advocated for oppression of Rohingya peoples in Burma; and monks have advocated violence during the Sri Lankan civil war. In these examples, we see that even devotion to the words of the Buddha doesn’t necessarily preclude one from developing profoundly harmful ideologies, or even directly supporting violent and murderous behaviour. Generally speaking, such behaviour is perhaps less common in Buddhism than in other major religions, but we must remember that not everyone who is Buddhist will successfully live according to Buddhist principles, and some may even abuse those principles for their own selfish ends.
Here in the West, we are lucky to have easy access to a wide variety of highly-realised Buddhist masters of various traditions, who have reached out to us given our recent enthusiasm for Buddhist perspectives. With relatively little effort, we can attend live/online teachings from enlightened beings like His Holiness the Dalai Lama, and often these teachings are completely free. As traditions like Zen and Tibetan Buddhism have spread throughout the Western world, dedicated practitioners have built monasteries and communities of practice all over, to such an extent that nowadays most anyone in the Americas or Europe can find a Buddhist community within relatively close proximity.
However, we must keep in mind that Buddhists are not infallible, as noted above, and that there are unscrupulous types who do seek to exploit one’s enthusiasm for spiritual fulfilment. When joining a Buddhist community or Dharma centre, I strongly recommend doing research online to find out more about that community before joining. In particular, some communities branding themselves as Tibetan Buddhist have poor reputations, and may extort large amounts of money from their members while providing teaching of questionable quality. There have even been some instances of psychological or sexual abuse.
Tibetan Buddhism can be particularly challenging in this regard, because sustained practice in these traditions requires a deep and personal relationship with a guru. Therefore, finding a cultivating a positive, healthy relationship with that guru is of critical importance, and a bad guru relationship can be very disheartening or even damaging. So, when joining a Tibetan Buddhist community, be sure to check which Tibetan tradition the community belongs to (Nyingma, Kagyu, Sakya, Gelug, Jonang, Bon). Also be sure to research the teachers within that community, and look for teachers who can demonstrate that they have an unbroken lineage of transmission (meaning they have received training passed down from highly-realised masters in recognised Tibetan lineages). Of course even these qualities may not guarantee a good experience, but you are much more likely to have a positive and transformative experience if you can rely on your community and its teachers as being part of a genuine tradition, and having lifetime(s) of experience teaching the Dharma.
If you are unable to find a reputable community near you, don’t despair! In these modern times, Buddhism is more accessible than ever. Even the deepest esoteric teachings of Tibetan Buddhism, which must be transmitted to you directly by a guru, are available online. Some reputable Tibetan Buddhist online programmes include: Tara’s Triple Excellence; the Foundation for the Preservation of the Mahayana Tradition’s Basic Program; and Mingyur Rinpoche’s Vajrayana Online. Note that these are all very intensive and very long programmes that will carry you from novice all the way to esoteric tantric practice! Less intensive forms of practice are even more accessible, and numerous short courses in foundational Buddhist principles and practices are available from many reputable sources.
“Buddhism has less of a focus on supernatural things, and much more focus on the internal world of our thoughts and perceptions, unlike other religions.”
Buddhists certainly do have a much more detailed and systematic approach to understanding mind and reality than most major religions. They also do not believe in a creator God, or in an eternal soul, so in that respect they may appear less inclined toward the supernatural than, say, Judeo-Christian traditions.
However, spending any amount of time reading Buddhist scripture will reveal many supernatural elements. Buddhist cosmology includes six separate realms of existence — the human realm, demi-god realm, god realm, animal realm, hungry ghost realm, hell realm — each of which is home to huge numbers of unusual beings. Teachings from the Buddha himself describe the attainment of superhuman psychic powers as a result of Buddhist practice, such as being able to read minds or appear in two places at once (interestingly, these powers are widely considered to be very real and many highly-realised masters report experiencing them, but generally they rarely speak of them, do not consider them important, and actively discourage practitioners from seeking out these powers). Buddhas and bodhisattvas are depicted both as actually-existent omniscient beings that try to help all sentient beings achieve enlightenment, and as conceptual entities reflecting only internal properties of our minds (this is a deep and fascinating topic all in itself).
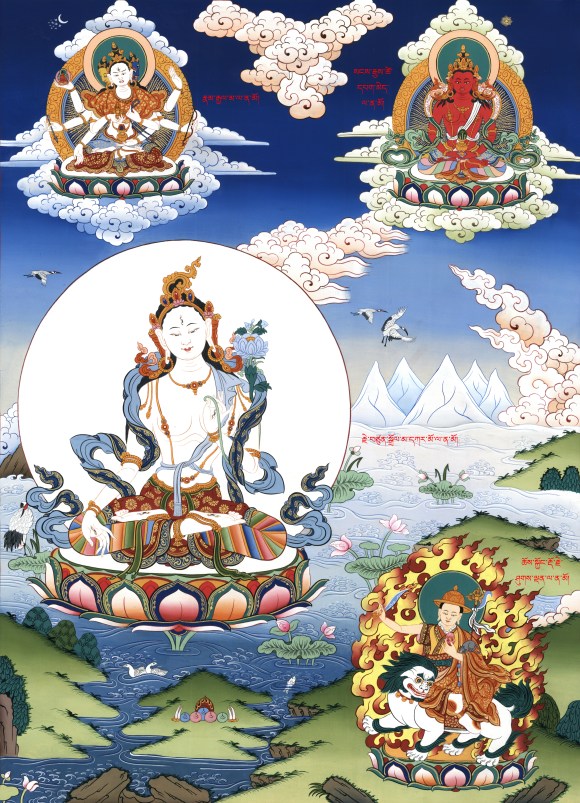
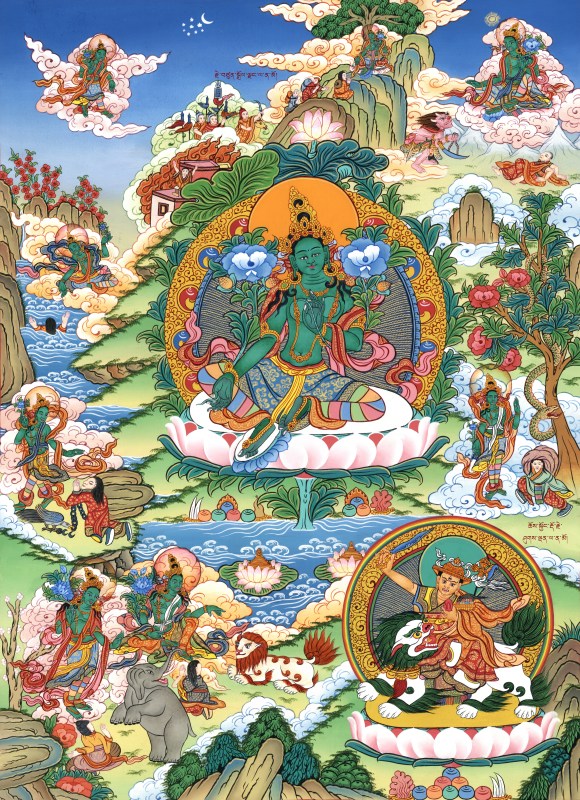
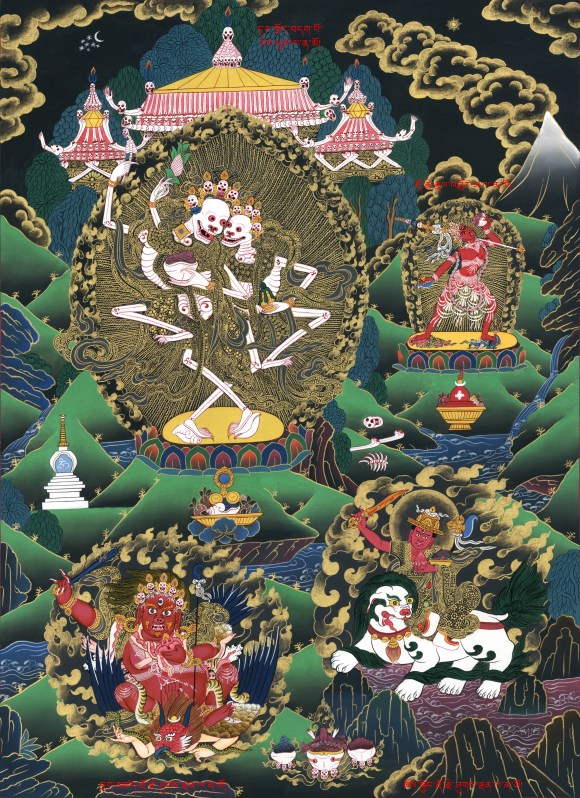
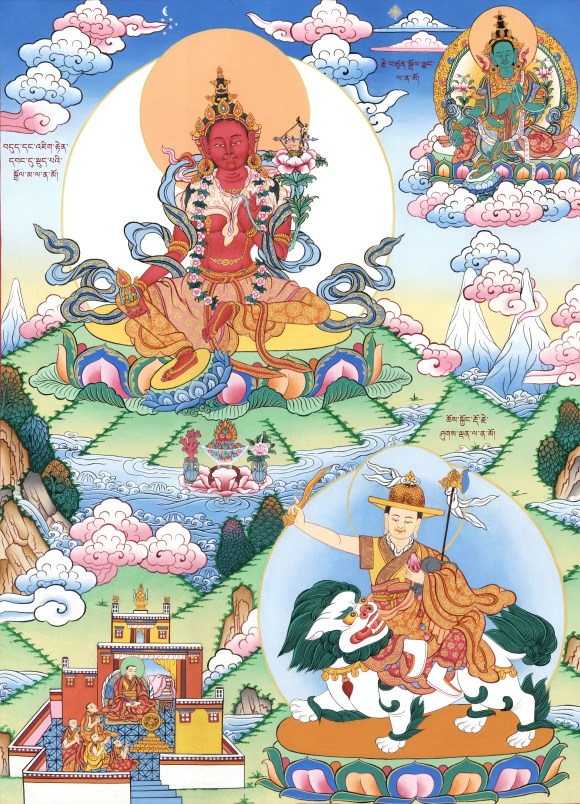
In short, Buddhism includes plenty of elements that we would consider ‘supernatural’. However, in the context of Buddhist thought this is a complex area, in that some portrayals of these entities and powers are considered ‘relative truth’ (portrayed a certain way to be accessible to everyday people and/or new practitioners), rather than ‘absolute truth’ (in which the fundamental nature of the entity/phenomenon is clearly described). This is particularly relevant to Tibetan Buddhist deities, which are described as real, existent beings in relative terms, but at higher levels of practice are seen as convenient visual/conceptual manifestations of deeper aspects of mind rather than as real beings.
So, I would say it’s helpful to avoid categorising the ‘supernatural’ elements of Buddhism as such, without looking deeper into how these elements manifest in actual practice. Buddhists are happy to work with very complex layers of visual and conceptual symbolism, and their philosophy actively discourages dualistic thinking, so by classing some of these elements as ‘real’ or ‘supernatural’ we’re missing the point a bit.
Buddha himself also espoused the need to use ‘skilful means’ to teach the Dharma, meaning that simplifying or re-contextualising things to improve accessibility is worth doing if it helps spread the Dharma. So if a layperson views Chenrezig as a real, existent deity who watches over them, and thus acts in accordance with Buddhist principles of compassion, then this is perfectly fine, even if we ‘know’ that Chenrezig is a symbolic representation of our own mind’s limitless potential for compassion. Both approaches can lead one to realisation, so does it really matter if one is more or less ‘accurate’ than the other?
“I like Buddhism because it’s very rational, detailed and empirical, and fits in well with a Western scientific viewpoint.”
Buddhists certainly do approach the nature of mind and samsaric existence in incredible detail, and the various Buddhist scriptural canons contain a truly astounding amount of detail, including very rigorous descriptions of every type of mental phenomena, and seemingly endless lists of types of mental events, consciousnesses, and so on. For the reader interested in the philosophy of mind and cognition, Buddhism virtually sparkles with enticing and exciting ideas, which all seem to cohere into a remarkably detailed and consistent philosophy.
Having said that, we have to be careful before imputing a scientific mindset onto the words and actions of the Buddha and his disciples. While Buddhists have long had formal systems of logical debate and do have a clear interest in developing coherent systems of thought regarding the mind and samsaric existence, these systems sprung out of a desire to develop ever more powerful ways to teach others how to achieve liberation from samsara. The Buddha was not a philosopher, but a spiritual teacher, and his goals were not to uncover the workings of reality, but to find better ways to surpass it and improve ourselves. These goals are not scientific goals, or philosophical ones; when Buddhism appears that way, it is because these approaches served the overarching goal of developing powerful means to achieve liberation:
“The Buddha should not be understood as a philosopher who was trying to develop a systematic philosophical system, complete with its own epistemology, metaphysics, and cosmology. Nor was he engaging in early scientific thinking. His teachings do not speculate about the nature of what seems to us to be the external world. Rather, his goal was to teach beings to understand their experience in such a way that they would be able to eliminate suffering and the fundamentally unsatisfactory quality of their lives. When we read in the sutras statements that seem to be abstract philosophical claims or excursions into neuroscience or cognitive psychology, we should realize that the purpose and meaning of these statements is to be understood and evaluated in light of their utility in advancing spiritual practice.” (The Surangama Sutra: A New Translation, 2009)
So, when reading about Buddhist thought, the philosophy on display is so detailed and rigorous that it’s very easy to attribute to it the same mindset that we use when discussing science or analytical philosophy. But when we zoom out a bit, we can see that the goals are quite different. As in the quote above, the Buddha is quite particular about only teaching the information that is needed to achieve liberation from samsara; he doesn’t speculate much on the origins of the Universe, or posit some overarching purpose or direction to existence.
The Buddha gave a famous discourse in the Pali Suttas about a surgeon removing a poisoned arrow from its victim. The surgeon who does his job properly will remove the arrow quickly, suck out the poison, and treat the wound; then he will give his patient only the medical knowledge and advice he needs for caring for himself afterward. He won’t tell the patient what wood the arrow was made from, or who he thinks shot the arrow, or what the weather was at the time; none of this aids the patient in keeping himself healthy, which is the surgeon’s ultimate goal. The Buddha compares himself directly to this surgeon, demonstrating that he only provides his students with the information they need to heal themselves, because liberation is the goal, and any information irrelevant to that goal is unimportant and would only confuse rather than heal our suffering.
So while it is tempting to compare the Buddha’s systematic approach to understanding and revealing the true nature of mind and suffering to a modern rationalist view, what we see in the sutras is not truly a scientific approach but instead a deeply practical one. The Buddha doesn’t waste time on things we don’t need to know. We don’t need to know why samsara exists, it just does, and we should devote all our attention to escaping it. We don’t need to know how or why the Universe began, because it self-evidently did and there’s nothing to be done about it, nor is there anything in that event that helps us achieve liberation. When viewing existence from a non-dual perspective, none of these questions have much intrinsic value anyway; all things are empty of inherent existence, so the main focus from a Buddhist perspective is to realise that and thus remove our attachment to conditioned things. Therefore, what we do need to understand is the nature of mind, the origin of suffering, and the way to end suffering, so the Buddha spent 49 years teaching in exacting and exhaustive detail on precisely those things.
“Wait, you said you can’t be Buddhist and be [Christian/Muslim/whatever], but here’s a quote from the Dalai Lama saying that Jesus Christ can be seen as a Bodhisattva! Doesn’t that mean these religions actually are compatible?”
Buddhism is very good at coexisting with other belief systems, including Judeo-Christian ones, because it views the world in a quite different light. As discussed above, the Buddha’s teachings don’t really address the same questions that the Bible, the Torah or the Quran address, with little time spent in the sutras on the ‘why’ and ‘how’ of existence. Similarly, there is no creator God in Buddhism, so in that sense Buddhism really isn’t in competition with most other religions.
We can see this inherent flexibility at work in many parts of the world, where Buddhism has found a comfortable synthesis with other religions. Japan is a classic example, where much religious practice is syncretic and includes elements of Shinto and Buddhism with no real sense of conflict between them. Shinto is an animist religion with numerous gods and spirits, and Buddhism is perfectly accepting of gods and spirits — it just says that Buddhists can’t take refuge in such beings, because they aren’t enlightened, and therefore they can’t lead us to liberation. Only the Buddha and the bodhisattvas and practicing the Dharma can liberate us. There’s nothing in Buddhism that says gods and spirits of other religions can’t exist, and can’t answer our prayers and do things for us; we just shouldn’t expect those things to get us out of samsara or address the true causes of suffering, they can only help us in the day-to-day worries we encounter in our milling around in samsara.
Still, despite the relative ease with which Buddhism can accept other approaches to spirituality, as discussed above there are still certain limits to this flexibility. Being a Buddhist requires accepting certain fundamental beliefs about the nature of existence, and when another set of beliefs contradict those, then we have to make a choice about which to believe. That being the case, my understanding is that statements from the Dalai Lama and other prominent Buddhists about other religions are primarily aimed at reassuring people that Buddhism doesn’t seek to erase their beliefs, their prophets or their gods. At a certain point conflicts will start to arise, but one would have to develop a serious interest in Buddhism for that to become a problem, so for the broader audience it’s more important to know that Buddhism is not something to feel threatened by, and that Buddhists will, and do, welcome interfaith dialogue.
Fundamentally, Buddhism is an atheistic philosophy, so at a certain level it will inevitably conflict with theistic modes of thought. Buddhism explicitly denies the existence of a creator God that intervenes in our affairs; such an entity is logically impossible in the Buddhist framework, since everything in existence is a product of dependent origination and therefore depends on the existence of everything else, meaning there is no possibility of a ‘first mover’ and no need for proposing the ex nihilo creation of existence. Further, a Buddhist is supposed to take refuge only in the Buddha, the Dharma (the Buddha’s teachings), and the Sangha (the monastic community); giving offerings to or praying to other entities/gods has no soteriological value in Buddhism, as those entities would be just as subject to the turmoil of samsara as the rest of us, and therefore cannot lead us to liberation.
This atheistic view is common across all established Buddhist traditions, as outlined in the Basic Points Unifying the Theravada and the Mahayana, written and agreed by the World Buddhist Sangha Council in 1963 (emphasis mine):
The Buddha is our only Master (teacher and guide)
- We take refuge in the Buddha, the Dharma and the Saṅgha (the Three Jewels)
- We do not believe that this world is created and ruled by a God.
- We consider that the purpose of life is to develop compassion for all living beings without discrimination and to work for their good, happiness, and peace; and to develop wisdom (prajñā) leading to the realization of Ultimate Truth
- We accept the Four Noble Truths, namely duḥkha, the arising of duḥkha, the cessation of duḥkha, and the path leading to the cessation of duḥkha; and the law of cause and effect (pratītyasamutpāda)
- All conditioned things (saṃskāra) are impermanent (anitya) and duḥkha, and that all conditioned and unconditioned things (dharma) are without self (anātma).
- We accept the thirty-seven qualities conducive to enlightenment (bodhipakṣadharma) as different aspects of the Path taught by the Buddha leading to Enlightenment.
- There are three ways of attaining bodhi or Enlightenment: namely as a disciple (śrāvaka), as a pratyekabuddha and as a samyaksambuddha (perfectly and fully enlightened Buddha). We accept it as the highest, noblest, and most heroic to follow the career of a Bodhisattva and to become a samyaksambuddha in order to save others.
- We admit that in different countries there are differences regarding Buddhist beliefs and practices. These external forms and expressions should not be confused with the essential teachings of the Buddha.
Having said all that, there is always benefit to sustained dialogue between religious traditions, even when such major, irreconcilable differences are present. Religious strife has been the cause of much suffering, and by developing understanding between religions we can more easily avoid these problems. Sustained dialogue can also foster compassion and beneficial relationships across religious groups. The Dalai Lama has been a prominent supporter of interfaith dialogue, and has been very successful in building better relationships between Buddhist organisations and other faiths.
“Hang on a minute, why should I listen to you about any of this anyway? You’re just some guy!”
That’s true, though to be fair, the Buddha himself also discouraged mindless belief in whatever he says, and encourages us to test his teachings through real experience. The Dalai Lama likewise often refers to himself as a ‘simple Buddhist monk’ and has said many times that we should only believe what we’ve tested and examined using our own minds and critical analysis. If the Dalai Lama and the Buddha themselves don’t ask for unconditional faith in their teachings, then I certainly can’t (and won’t!).
Ultimately, I’m only here to present my take on Buddhism, and my feelings about how we should view it from a Western perspective. From that point of view, I hoped some exposition about certain common misconceptions might be helpful for others out there, as I’ve asked all these questions myself at one time or another.
If it helps, I do consider myself a Buddhist, and I took the refuge vows in front of the Dalai Lama himself in 2004, so in theory I’ve been a Buddhist in some sense since that moment. But more recently I decided to make it more ‘official’, so now I’m a literal card-carrying Tibetan Buddhist with a Tibetan Dharma name and everything:
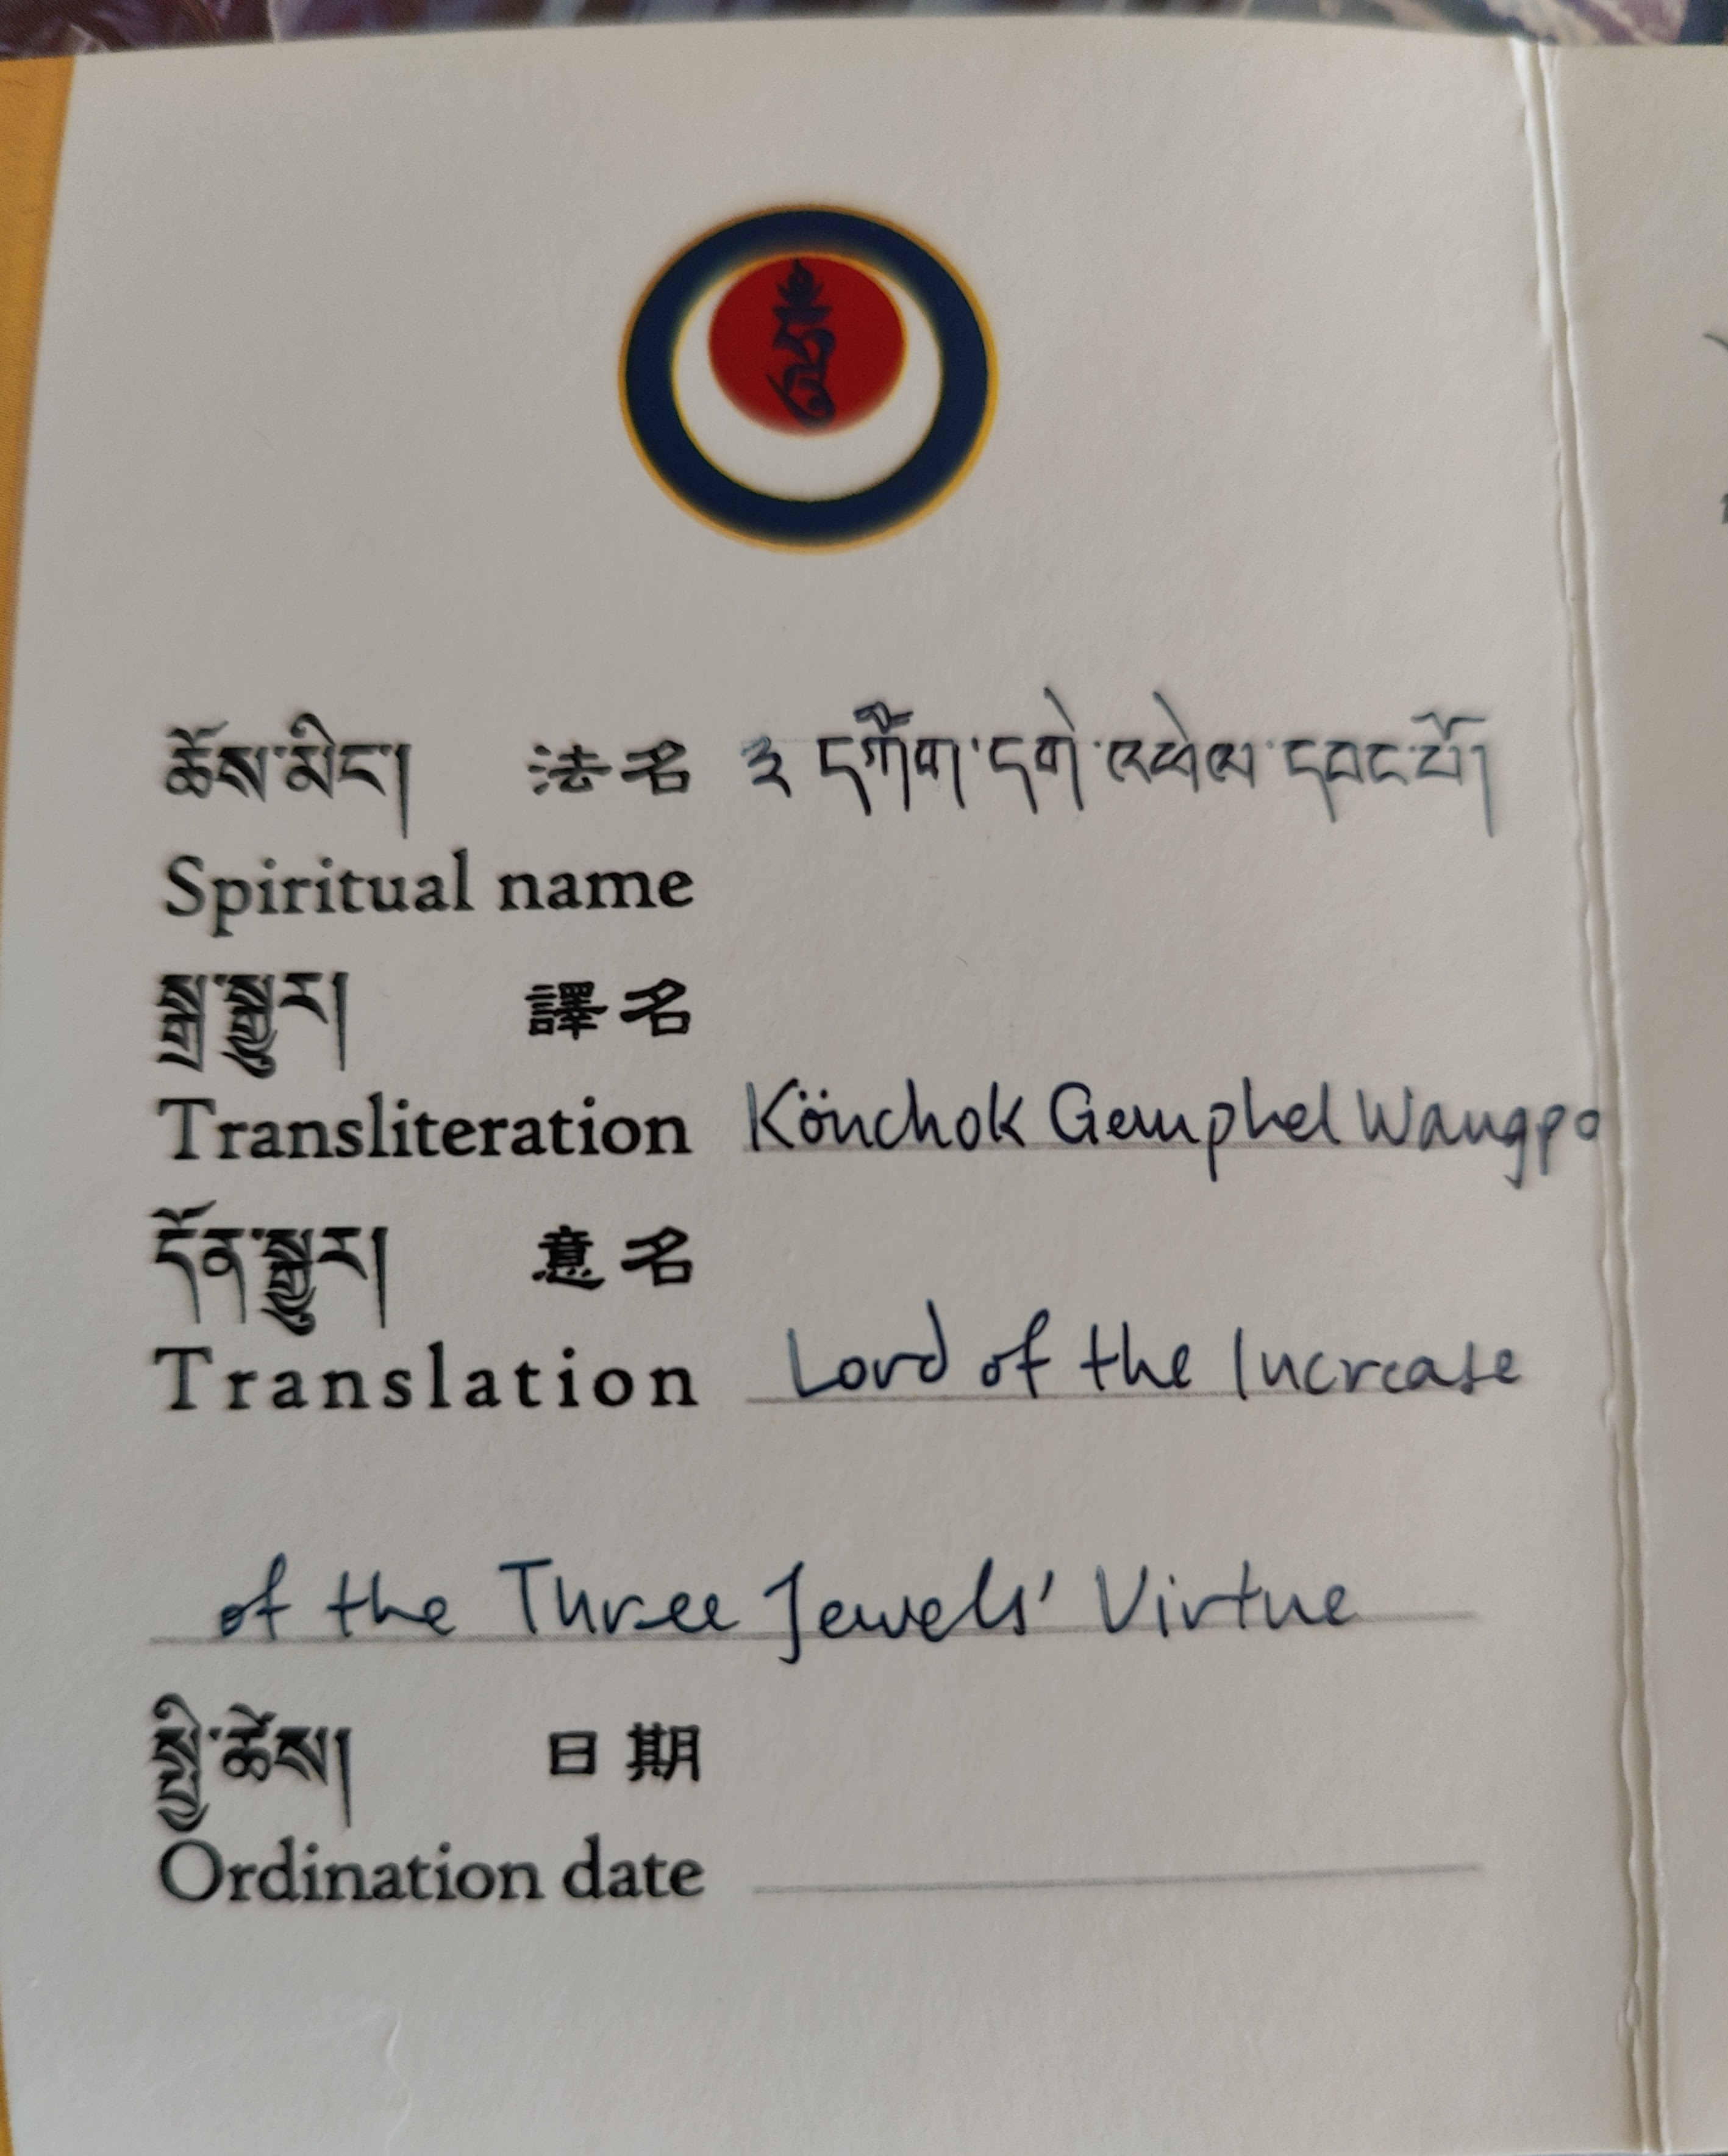
So I’m a Buddhist, but definitely a layperson (note the lack of ordination date, so I’m no monk!), and please take anything I say with a massive grain of salt. My hope is that reading this will help you learn some basics, and ultimately take you to teachers much more qualified than myself!